Updating
Drupal 7 modules can be a more involved process than installing or
removing modules. Follow the steps closely, as they are necessary to
ensure the stability of your website.
To update a module that's used by your website:
To update one or more modules using Drush run the following command from a command prompt, where [module] is the drupal.org project name of the module you want to update:
If you are running multiple sites, you must run

Launch the
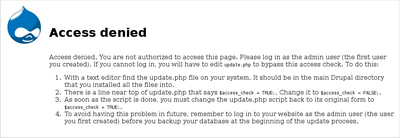
Performing updates requires admin privileges. The first account created on your site ("user 1") has the required privileges. If you do not have the proper privileges, you will see the following screen. Either sign in or follow the instructions on the page to perform the update.
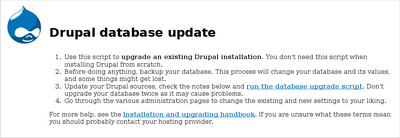
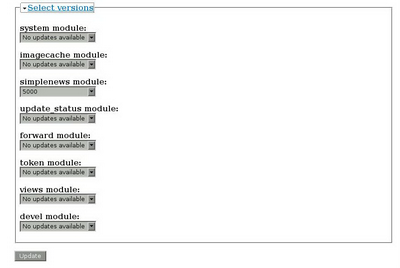
After you're signed in with the proper privileges, you'll see this screen. Click the Select versions link to expand the section.

These dropdown lists contain database updates specified by modules you have installed. If you are not developing your own module or troubleshooting, you should leave them alone and just click Update. The correct items should already be selected by default — either “No updates available” if there have not been any database changes, or a number, which is simply an ID number of the database update being applied.
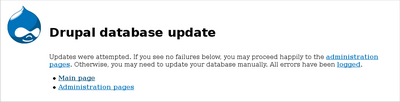
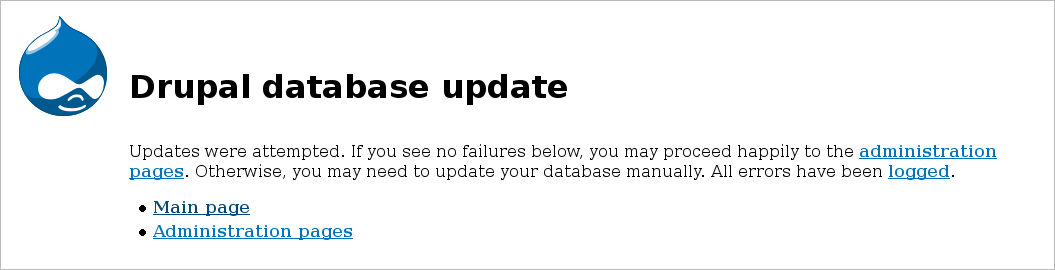
This next page may take time to load, as the server is modifying your database. This page displays any errors that may have occurred during the process. If none have occurred, your module updates are complete!
If Drush is not responding check path, export PATH="$HOME/.composer/vendor/bin:$PATH"
To update a module that's used by your website:
- Check for module-specific update instructions.
- Back up your database and files.
- Put your site into Maintenance mode.
- Replace the module code with the updated version.
- Run update.php.
- Turn off Maintenance mode.
Check for module-specific update instructions
First, check the module's project page "Read Documentation" link, as well as the instructions (for example,README.txt, INSTALL.txt, and UPGRADE.txt)
that come with the module's installation file (tarball or zip)for any
module-specific update instructions. This is typically necessary when
updating modules that involve the usage of third party libraries. Be
sure to read and understand all module specific requirements before
proceeding with the updates.Back up your database and files
Your website's database contains all of its content, as well as all of its settings and configuration. Though unlikely, any operation that modifies the database can be potentially damaging. Back up your website's files to ensure that you can revert back to the point when things were working. We highly recommend you back up your site before updating modules.Put your site into Maintenance mode
From the Drupal Administration pages, go to/admin/config/development/maintenance and put the site into maintenance mode by selecting "Put site into maintenance mode".Replace the module code with the updated version
You can use either of the following methods to update your module: manually updating the files or Drush.Manually updating files
To replace the module's code with the new version, download a copy of the new module from the drupal.org project page, or use the link projected by the Update module from your site's update status report. Delete the entire outdated module's directory and upload the new one as if you were installing the module for the first time. If you don't delete the outdated module, Drupal may not reflect the update, and report an outdated module.Drush
If you have the Drush module installed, you can also update your modules from the command line.To update one or more modules using Drush run the following command from a command prompt, where [module] is the drupal.org project name of the module you want to update:
drush up [module] drush up update.php, allowing you to skip the next step in this process.Run update.php
Update.php is a script that is used to update the database after modules, themes, or core have been updated or upgraded. A new version of a module may change the structure of the database; this script adjusts the database to fit the updated module. Since the database contains all of the content and the settings of your website, this is an essential step to ensure its continued operation.If you are running multiple sites, you must run
update.php on each site.
Launch the
update.php file on your site using a web browser. This file is located in the same directory as Drupal itself, for example http://example.com/update.php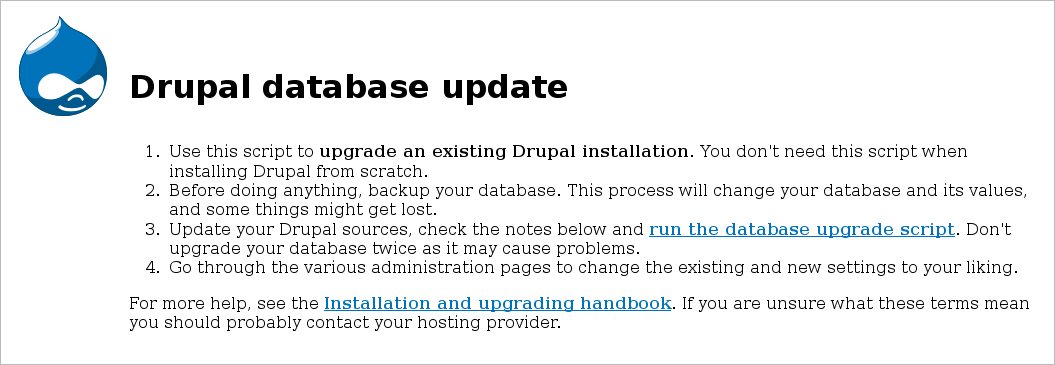
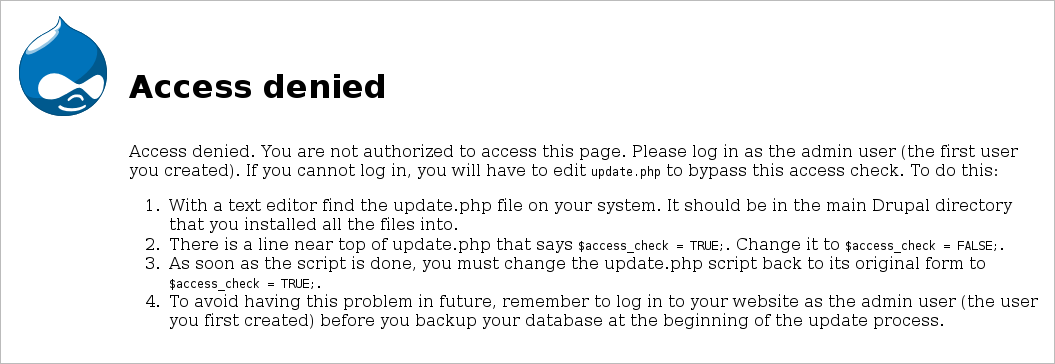
Performing updates requires admin privileges. The first account created on your site ("user 1") has the required privileges. If you do not have the proper privileges, you will see the following screen. Either sign in or follow the instructions on the page to perform the update.
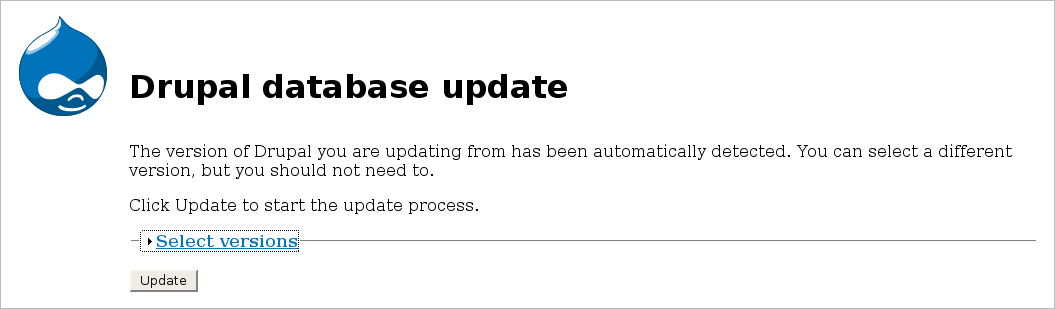
After you're signed in with the proper privileges, you'll see this screen. Click the Select versions link to expand the section.
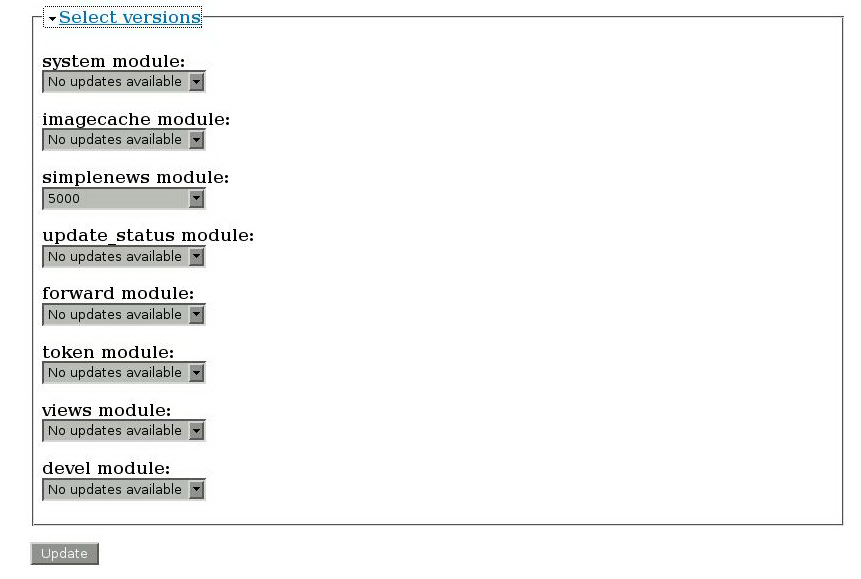
These dropdown lists contain database updates specified by modules you have installed. If you are not developing your own module or troubleshooting, you should leave them alone and just click Update. The correct items should already be selected by default — either “No updates available” if there have not been any database changes, or a number, which is simply an ID number of the database update being applied.
This next page may take time to load, as the server is modifying your database. This page displays any errors that may have occurred during the process. If none have occurred, your module updates are complete!
Turn off Maintenance mode
Put the site back online by visiting/admin/settings/site-maintenance and disabling maintenance mode.If Drush is not responding check path, export PATH="$HOME/.composer/vendor/bin:$PATH"


![clip_image001[5]](https://msdnshared.blob.core.windows.net/media/2016/06/clip_image00151.png "clip_image001[5]")
![clip_image002[5]](https://msdnshared.blob.core.windows.net/media/2016/06/clip_image0025.png "clip_image002[5]")
![clip_image003[5]](https://msdnshared.blob.core.windows.net/media/2016/06/clip_image0035.png "clip_image003[5]")


![clip_image001[9]](https://msdnshared.blob.core.windows.net/media/2016/06/clip_image00191.png "clip_image001[9]")
![clip_image002[9]](https://msdnshared.blob.core.windows.net/media/2016/06/clip_image0029.png "clip_image002[9]")


 For the current release notes, see